How to do your daughter's hair: 8 styles any dad can master
A total-beginner dad guide to doing your daughter’s hair: the kit you need plus 8 simple styles, from a low ponytail to the school-run special.
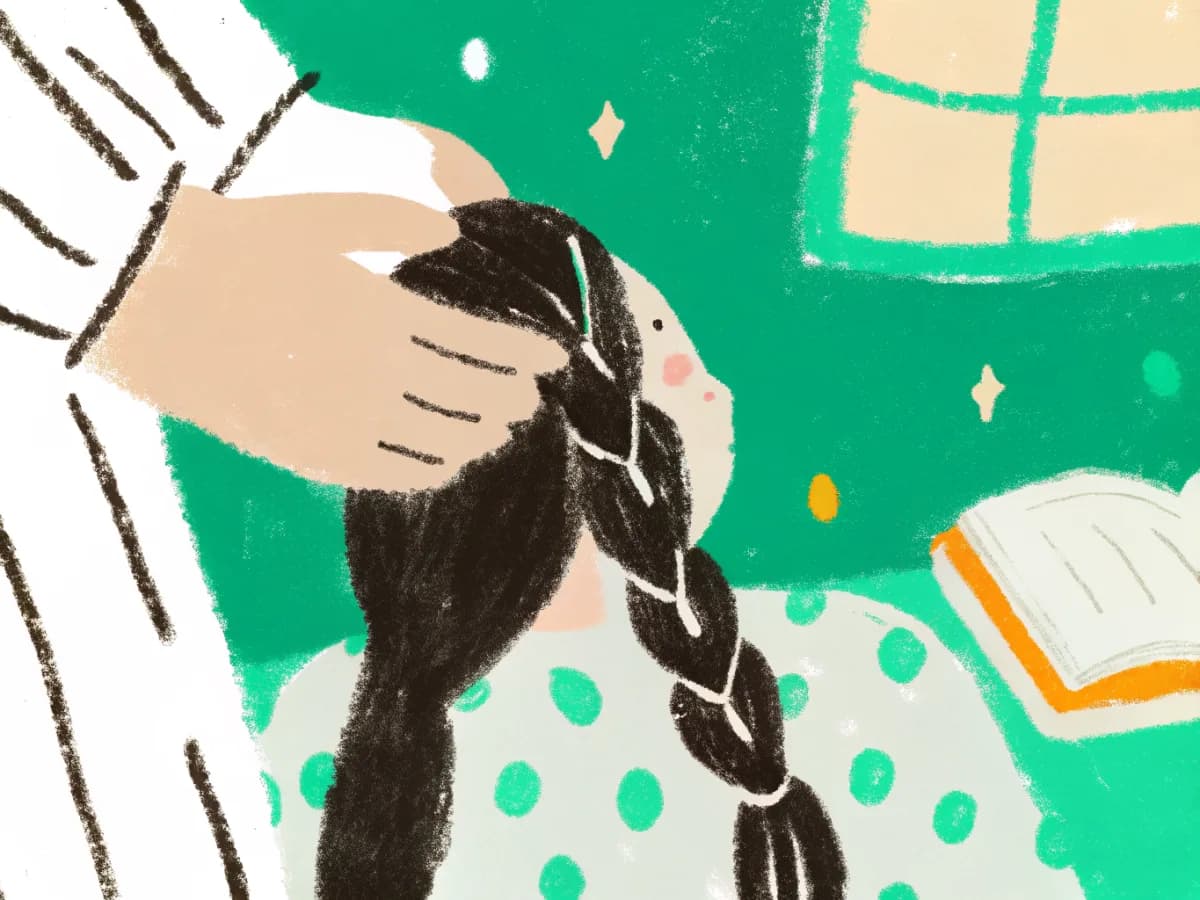
Right, let me say the thing you need to hear before you pick up a comb: your first braid will be wonky, and that is completely fine. Every dad who can now whip up a neat French braid started with a lopsided lump that fell out by lunchtime. This is a skill you build with your hands over a few weeks, not a talent you either have or you do not, so let us get you from nervous to handy.
Start by practising on anything except your daughter's actual head before the school run. Hair braiding is muscle memory in your fingers, and you want to make the early mistakes when there is no audience and no clock ticking.
Good practice targets, in order of usefulness:
Give it three or four short goes before you try the real thing. Ten minutes here and there beats one long frustrating session, for you and for her.
The right mindset matters as much as technique. Keep it light, let her hold the mirror, and stop while she is still happy rather than pushing for perfect. A finished plait that took two attempts and a giggle beats a flawless one that ended in tears.
You need surprisingly little, and most of it costs a few pounds. Here is the short list that covers every braid in this guide.
Damp hair is your best friend as a beginner. Dry hair slips, splits and fights you, so a light mist of water makes the whole job easier. Do not soak it, just take the squeak out.
A basic plait is three sections of hair crossed over each other in turn, and it is the foundation for everything else. Master this and the fancier braids are just variations.
Say it out loud as you go: right over, left over, right over, left over. The rhythm is the whole game. Once your hands know it without your brain narrating, you are ready for the next step.
If you want a full set of looks that build on this plait, our guide to eight hairstyles any dad can learn walks through them step by step.
A French braid is a three-strand plait where you add a little more hair to each section as you cross it down the head. That is the only difference, and it is what makes the braid sit flat against the scalp.
The two things beginners find tricky are keeping the added bits the same size and keeping your fingers close to the head. Take smaller pieces than you think you need. Thin, even gathers look far tidier than big greedy handfuls.
A Dutch braid is exactly the same as a French braid, except you cross each section under the middle instead of over. That one change makes the braid pop up off the head in a raised, bold line, which is why people call it an inside-out or reverse French braid.
If you can do a French braid, you already have this. Just keep telling yourself "under, not over" until it sticks. Dutch braids hold up better for sport and rougher play, so they are a brilliant one for PE days.
A fishtail braid uses just two sections instead of three, and you move a thin strand from the outside of one section across to the other. It looks far more complicated than it is, and there is no adding of hair to learn.
The secret to a good fishtail is thin strands. The thinner the pieces you cross over, the finer and more impressive the pattern. Thicker strands are quicker but the braid looks chunky and loose. Start chunky to learn the movement, then go finer as your confidence grows.
The difference between a school-run scramble and a braid that earns a "wow" is almost always in the small finishing details. None of these are hard.
Most beginner braid problems come down to four issues, and each has a quick fix. If a braid is going wrong, it is almost certainly one of these.
When it goes wrong, do not unpick the whole thing in a huff. Slide the elastic off, comb it out, and start again calmly. Every redo is practice, and she will not remember the wonky attempts, only that Dad kept going.
The braiding moves are identical across all hair types, but the prep and the products change quite a bit with texture. Curly, coily and Afro hair generally wants more moisture and a gentler hand than straight hair.
A few things worth knowing:
If you are still finding your feet, ask other parents, a good local salon or your own family what works for your daughter's particular texture. Hair type is personal, and a tip from someone with the same hair beats any general guide.
You do not need to be brilliant at this. You need to show up, keep it gentle, and laugh off the early disasters. The fact that you are learning at all is the bit she will carry with her.
If you fancy a few bits for the job, we have hand-picked some lovely independent brands run by and for girl dads, and our own caps and tees for dads of daughters are over in the shop. Now go and practise on that doll. The school run will thank you.
Found this useful? We hand-pick indie brands for girl dads, and run our own little shop.
Keep reading
 Skills
A total-beginner dad guide to doing your daughter’s hair: the kit you need plus 8 simple styles, from a low ponytail to the school-run special.
 Skills
A calm, practical guide for dads on periods: what to know, when to start the conversation, what to keep at home and when to see a GP.
 Guides
A dad’s shortlist of girl names that pass the park test, the register and the job application, with what each one means and where it comes from.